Docker
Virtualization
Delivering software (and/or services) to others in our modern highly-interconected and highly-heterogeneous world is a challenge. The connectivity makes it easy to actually deliver the bytes comprising the software, but the wide variety of operating systems (Windows, Mac OS X, Linux), there versions, and hardware platforms (x86, x86_64, ARM), makes actually running the software at the end point seems almost impossible. A modern application typically composes together numerous other software frameworks (windowing libraries, networking, etc) and relies on host operating system services.
One approach that is somewhat helpful in addressing this is to have a minimal set of standardized services that all environments are expected to provide. A program written to just use those services will run anywhere that those requirements are met. But we’ve already seen some of the limitations of that approach in this course – the standards aren’t really standard and restricting your program to a minimal set can be quite limiting.
One increasingly popular – and highly effective – approach is virtualition. The idea behind virtualization is insert a thin software layer on top of the actual local OS – and have that thin layer provide a generic and portable interface. For those of you running the Windows Subsystem for Linux – this is exactly what is happening. The Linux programs you are running in WSL aren’t ported or rewritten for Windows (or rewritten for WSL): they are the very same binaries that a native Linux installation would run.
There are some third-party virtualization systems (aka virtual machines) such as VMWare or VirtualBox that will let you run a complete OS inside of another OS. WSL isn’t quite that heavy-weight – the virtualization layer instead provides all of the services as if it wer a complete OS. A similar (but portable and third-party) light-weight system for virtualization is docker.
Install Docker
Detailed instructions on how to obtain, download, and install Docker can be found on the Docker web site. Some basic steps are provided below, but the instructions on the web site are definitive.
If your computer and operating system are sufficiently recent, you will be able to run Docker directly. Docker has the same requirements on Windows as for WSL: you will need Win 10 Pro and will need to enable virtualization.
Step by step instructions for downloading, installing, and verifying Docker can be found here.
Mac OS X
The instructions and installer for Docker for Mac OS X can be found here. Download the version from the “stable” channel. After you have successfully downloaded and installed Docker according to the on-line instructions, verify that the docker icon is in the menubar on your computer and that you get the preferences menu when you click on it. Also verify that the message “Docker is running” is displayed on that menu.
Windows 10
The instructions and installer for Docker for Windows 10 can be found here. Download the version from the “stable” channel. After you have successfully downloaded and installed Docker according to the on-line instructions, verify that the docker icon is in the status bar on your computer and that you get the preferences menu when you click on it. Also verify that the message “Docker is now up and running” is displayed on that menu.
Verify Your Docker Installation
Steps for verifying Docker are at Step 3 on this page. You should use Terminal.app (“Terminal”) on Mac OS X and PowerShell on Windows.
Install the AMATH583 Docker Image
In the verification steps on docs.docker.com, you executed some images with the “docker run” command. As mentioned on the site, this first pulled the image to be executed from the docker site and then executed it. For this course we have created several custom images with tools (and applications) required to carry out certain tasks and assignments.
To download the basic image to your local machine, issue the following command in your terminal:
$ docker pull amath583/base
The image is fairly large (around 2GB) so the download will take some time, depending on the speed of your network connection.
Other images created for this course include:
amath583/base : Basic ubuntu installation with clang compiler
amath583/ps3 : base image plus python and matplotlib
amath583/ert : an application image for generating a one-core roofline plot for your computer
amath583/bandwidth : an application image for generating a bandwidth plot for your computer
amath583/bandwidth.noavx : same as above, but without advanced CPU instructions (that might not be supported on all platforms)
amath583/openmp : base image plus support for OpenMP
amath-583-ert.openmp : an application image for generating a multiple-core roofline plot for your computer
Connect to Your Local Workspace
There is an important feature to remember about running an image in a Docker container: Whatever you do in the container is not permanently saved. If you do your work in the container and save some files in the container, the next time you start the container, those files will be gone.
Fortunately, Docker provides a mechanism to share files between running containers and the host file system (your folders and files). To do that we use a command line option with Docker to map a folder in your home directory (the folder that you were asked to make above) to a directory in the running container.
Now we are ready to run the amath583/base image in a Docker container. Remember the following command (write it down, save it to a note file, etc) as you will be running it every time you need to work on programming assignments for this course.
For Mac OS X (assuming /Users/<your-id>/amath583work is where your amath583 assignments are):
$ docker run -it -v /Users/<your-id>/amath583work:/home/amath583/work amath583/base
For Windows (assuming C:Users<your-netid>amath583work is where your amath583 assignments are):
$ docker run -it -v C:\Users\<your-netid>\amath583work:/home/amath583/work amath583/base
Explanation.
The “-it” option in the command tells Docker to run interactively in a terminal. The “-v” option tells Docker to map a local directory (the directory on the left-hand of the “:” to a directory inside of the container (the directory on the right-hand of the “:”. Finally, amath583/base is the image to run.
Note
SELinux
If you are running Linux and have selinux enabled, you may find that the directory inside of the container is read-only or perhaps not accessible at all. In that case, append “:Z” to the “-v” command
$ docker run -it -v /Users/<your-id>/amath583work:/home/amath583/work:Z amath583/base
When Docker has successfully started you should see a command prompt that looks like the following:
amath583@892dae99e90b:/$
(The numbers in your prompt will be different.)
From this prompt, enter the “ls” command. You should see:
bin   dev  home  lib64  mnt  proc  run   srv  tmp  var
boot  etc  lib   media  opt  root  sbin  sys  usr
Now enter the “cd” command. You should see:
amath583@892dae99e90b:~$
Do you notice the change in the prompt? The “/” in the previous prompt has changed to “\(\tilde{\:\:\:\:\:}\)”: the cd command without any arguments changes your working directory to your home directory.
To see your home directory, type in “ls” again. You should see
tmp work
The “work” directory is the one we mapped to your working directory outside of Docker.
If you cd into “work” you should see the contents of your work directory:
$ cd work
$ ls
To verify that you can read and write to the filesystem, try the following:
$ cd work   # change into your work directory
$ touch hello
$ ls
Among the other files and folders you should see one named “hello”.
Now, to verify that the file system connection is working, go to your working directory in your local OS (outside of Docker). There should now be an empty file there called “hello”.
From the Finder (Mac OS X), from the Windows Explorer, or from a terminal command line, delete the “hello” file. Go back to your Docker terminal and issue the “ls” command. The “hello” file should now be gone.
One last exercise. In Docker, issue the following commands:
$ cd
$ touch work/goodbye
$ touch tmp/goodbye
$ ls work
$ ls tmp
You should see that you have created a file named “goodbye” in each of “tmp” and “work”. Now exit from Docker, you can do that just by entering “exit” at the command prompt (or typing ^D). After you have exited Docker, go to your local work directory and verify that the empty file “goodbye” exists there. Rename this file to “hello” (or create some other file). Restart Docker with the “run” command above and issue the following commands:
$ cd
$ ls work
$ ls tmp
You should see that the changes you made in your local directory are reflected in “work” but that the changes you made to “tmp” are gone. Again, anything you do in the container that is not in the shared folder that you mapped between your local OS and the docker container will not be saved and will disappear forever once you exit the container.
Docker and Visual Studio Code
As we have already seen in the course, one powerful feature of VS Code is that it can run an integrated terminal (described here.)
Since VS Code can be extended so flexibly, for situations that might require it, we can in fact configure VS Code to use a Docker image as the shell for the integrated terminal. This requires a few steps in manually modifying the configuration of VS Code, described in the following.
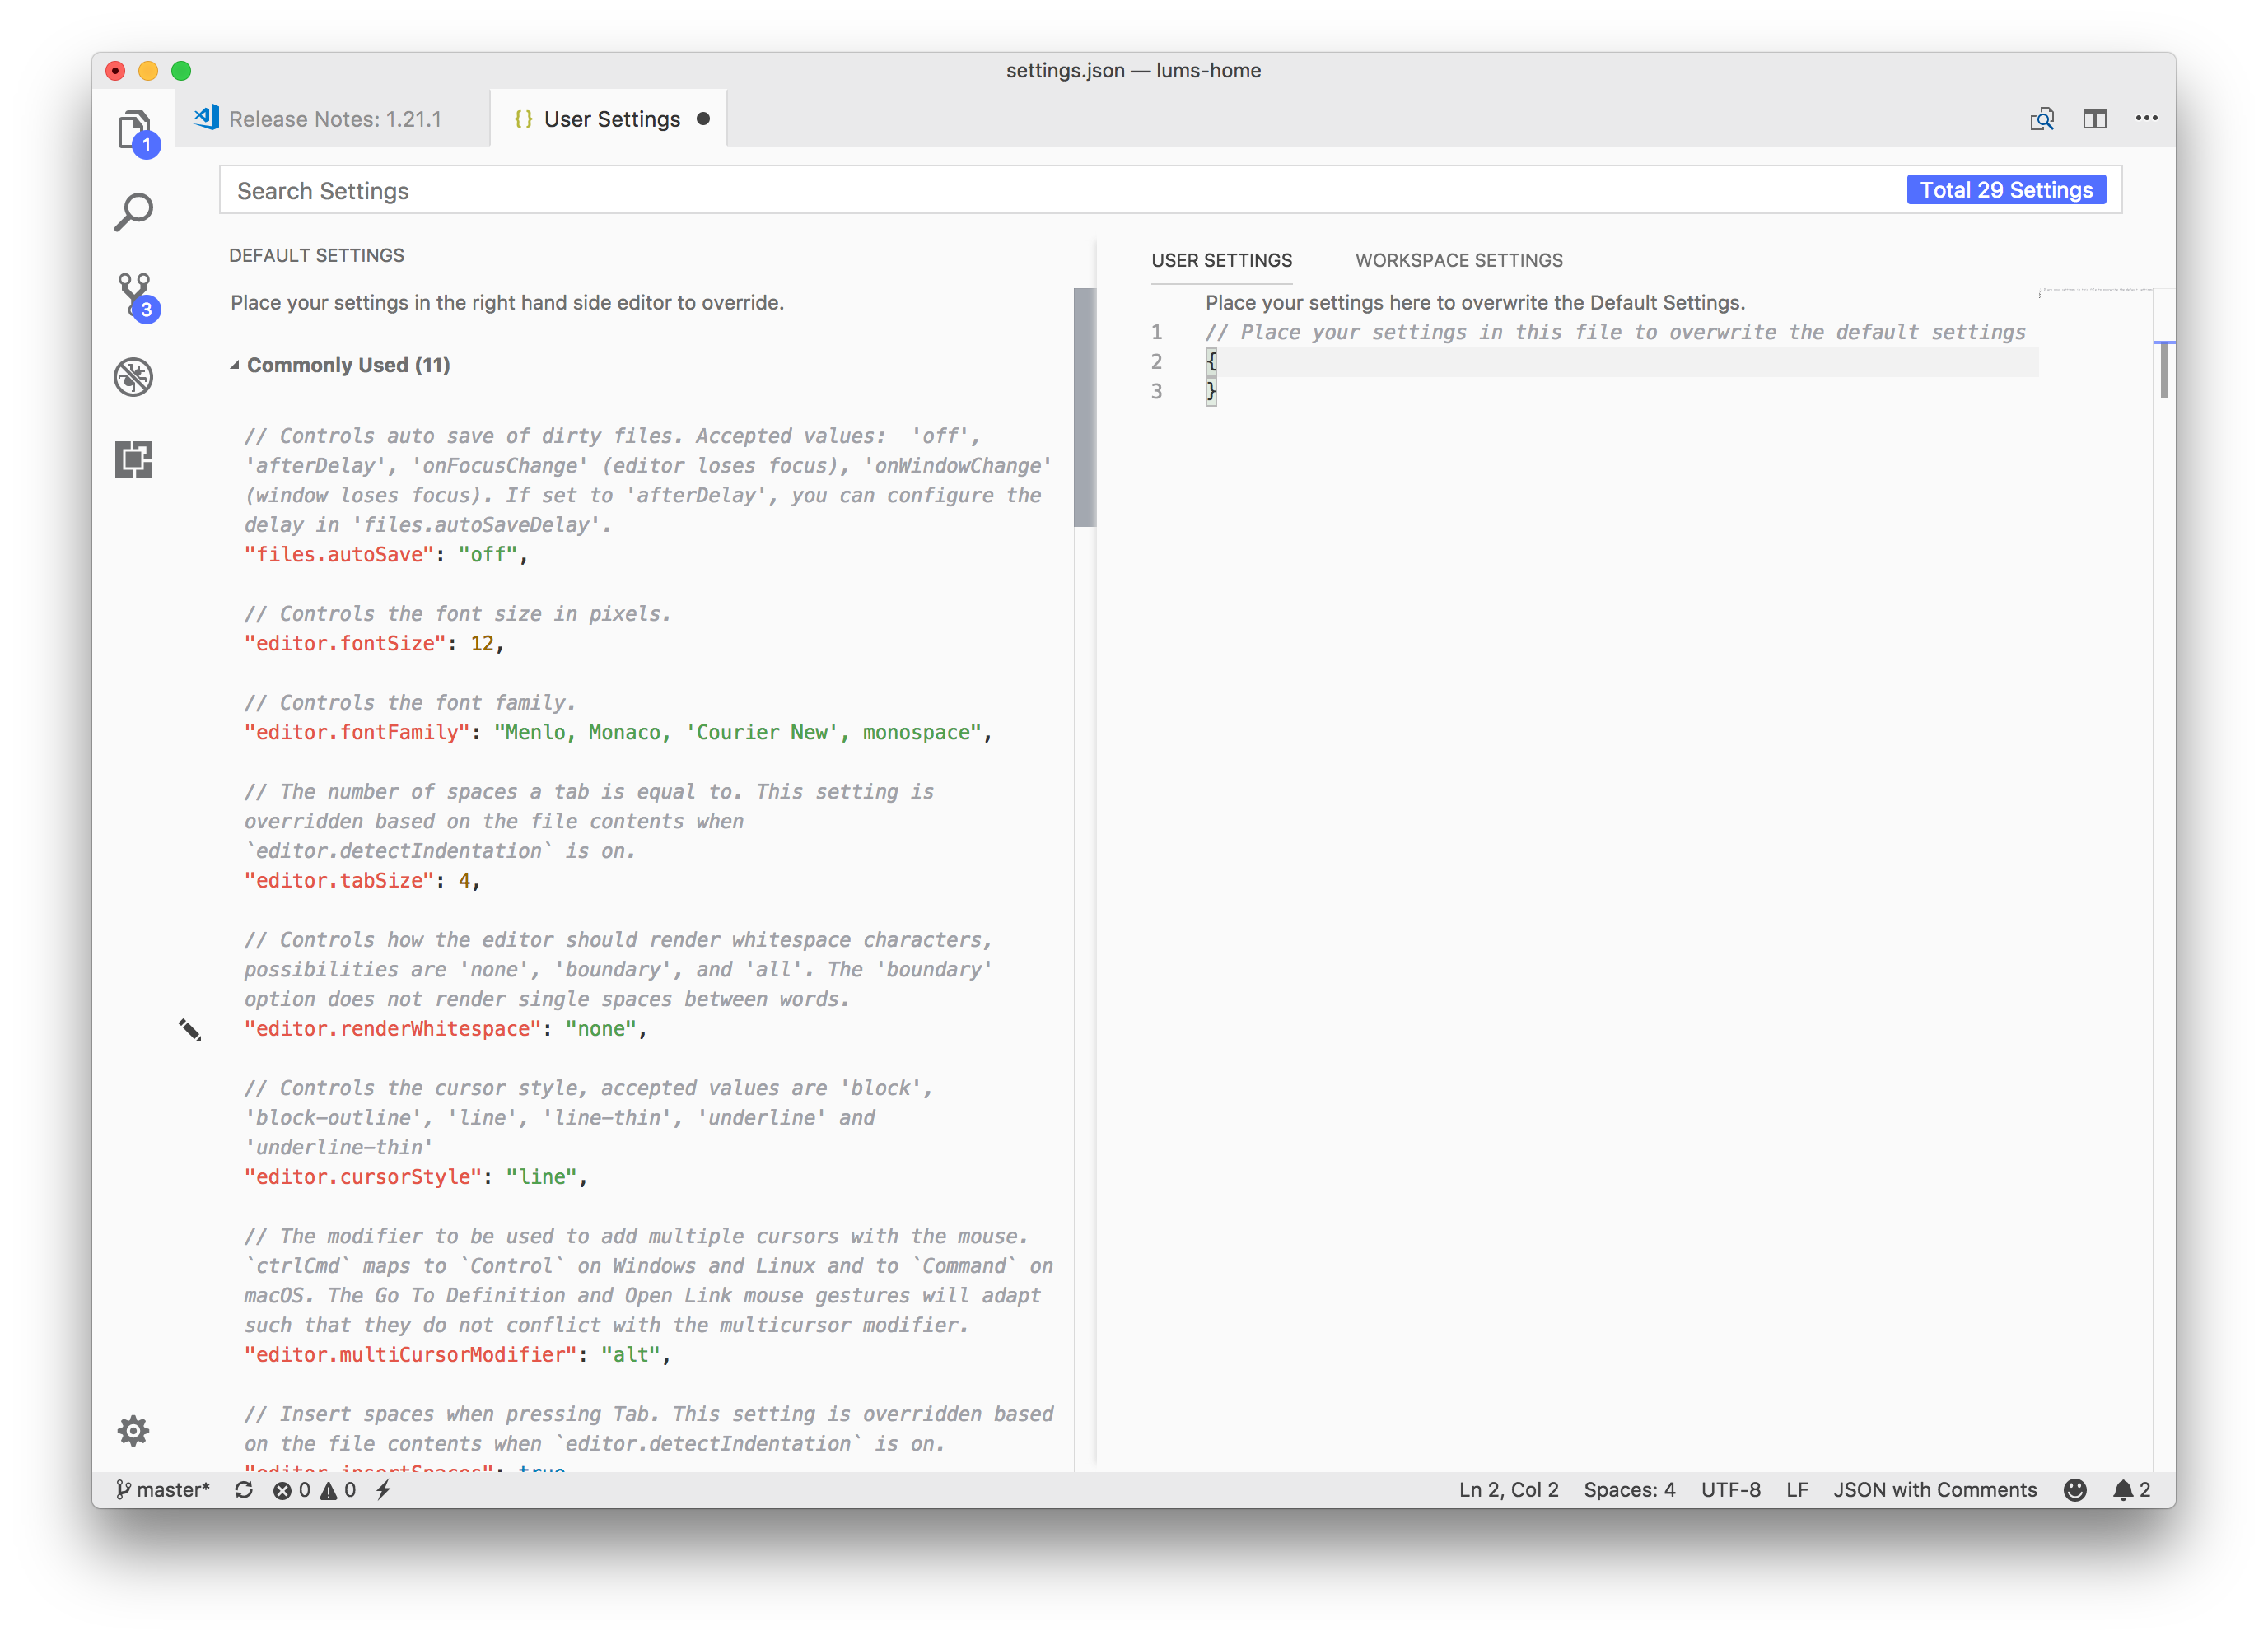
First, start up VS Code. In the lower left hand corner you will see the universal sign for settings (a gear). Click on that and choose “Settings” from the menu.
This will open up an editor window where you can edit (in JSON format) any of the hundreds and hundreds of settings in VS Code. We just want to edit two.
Mac OS Instructions
For Mac OS, enter the code as shown into the editor window, between the curly braces. You should do this in the “user settings” tab rather than workspace settings.
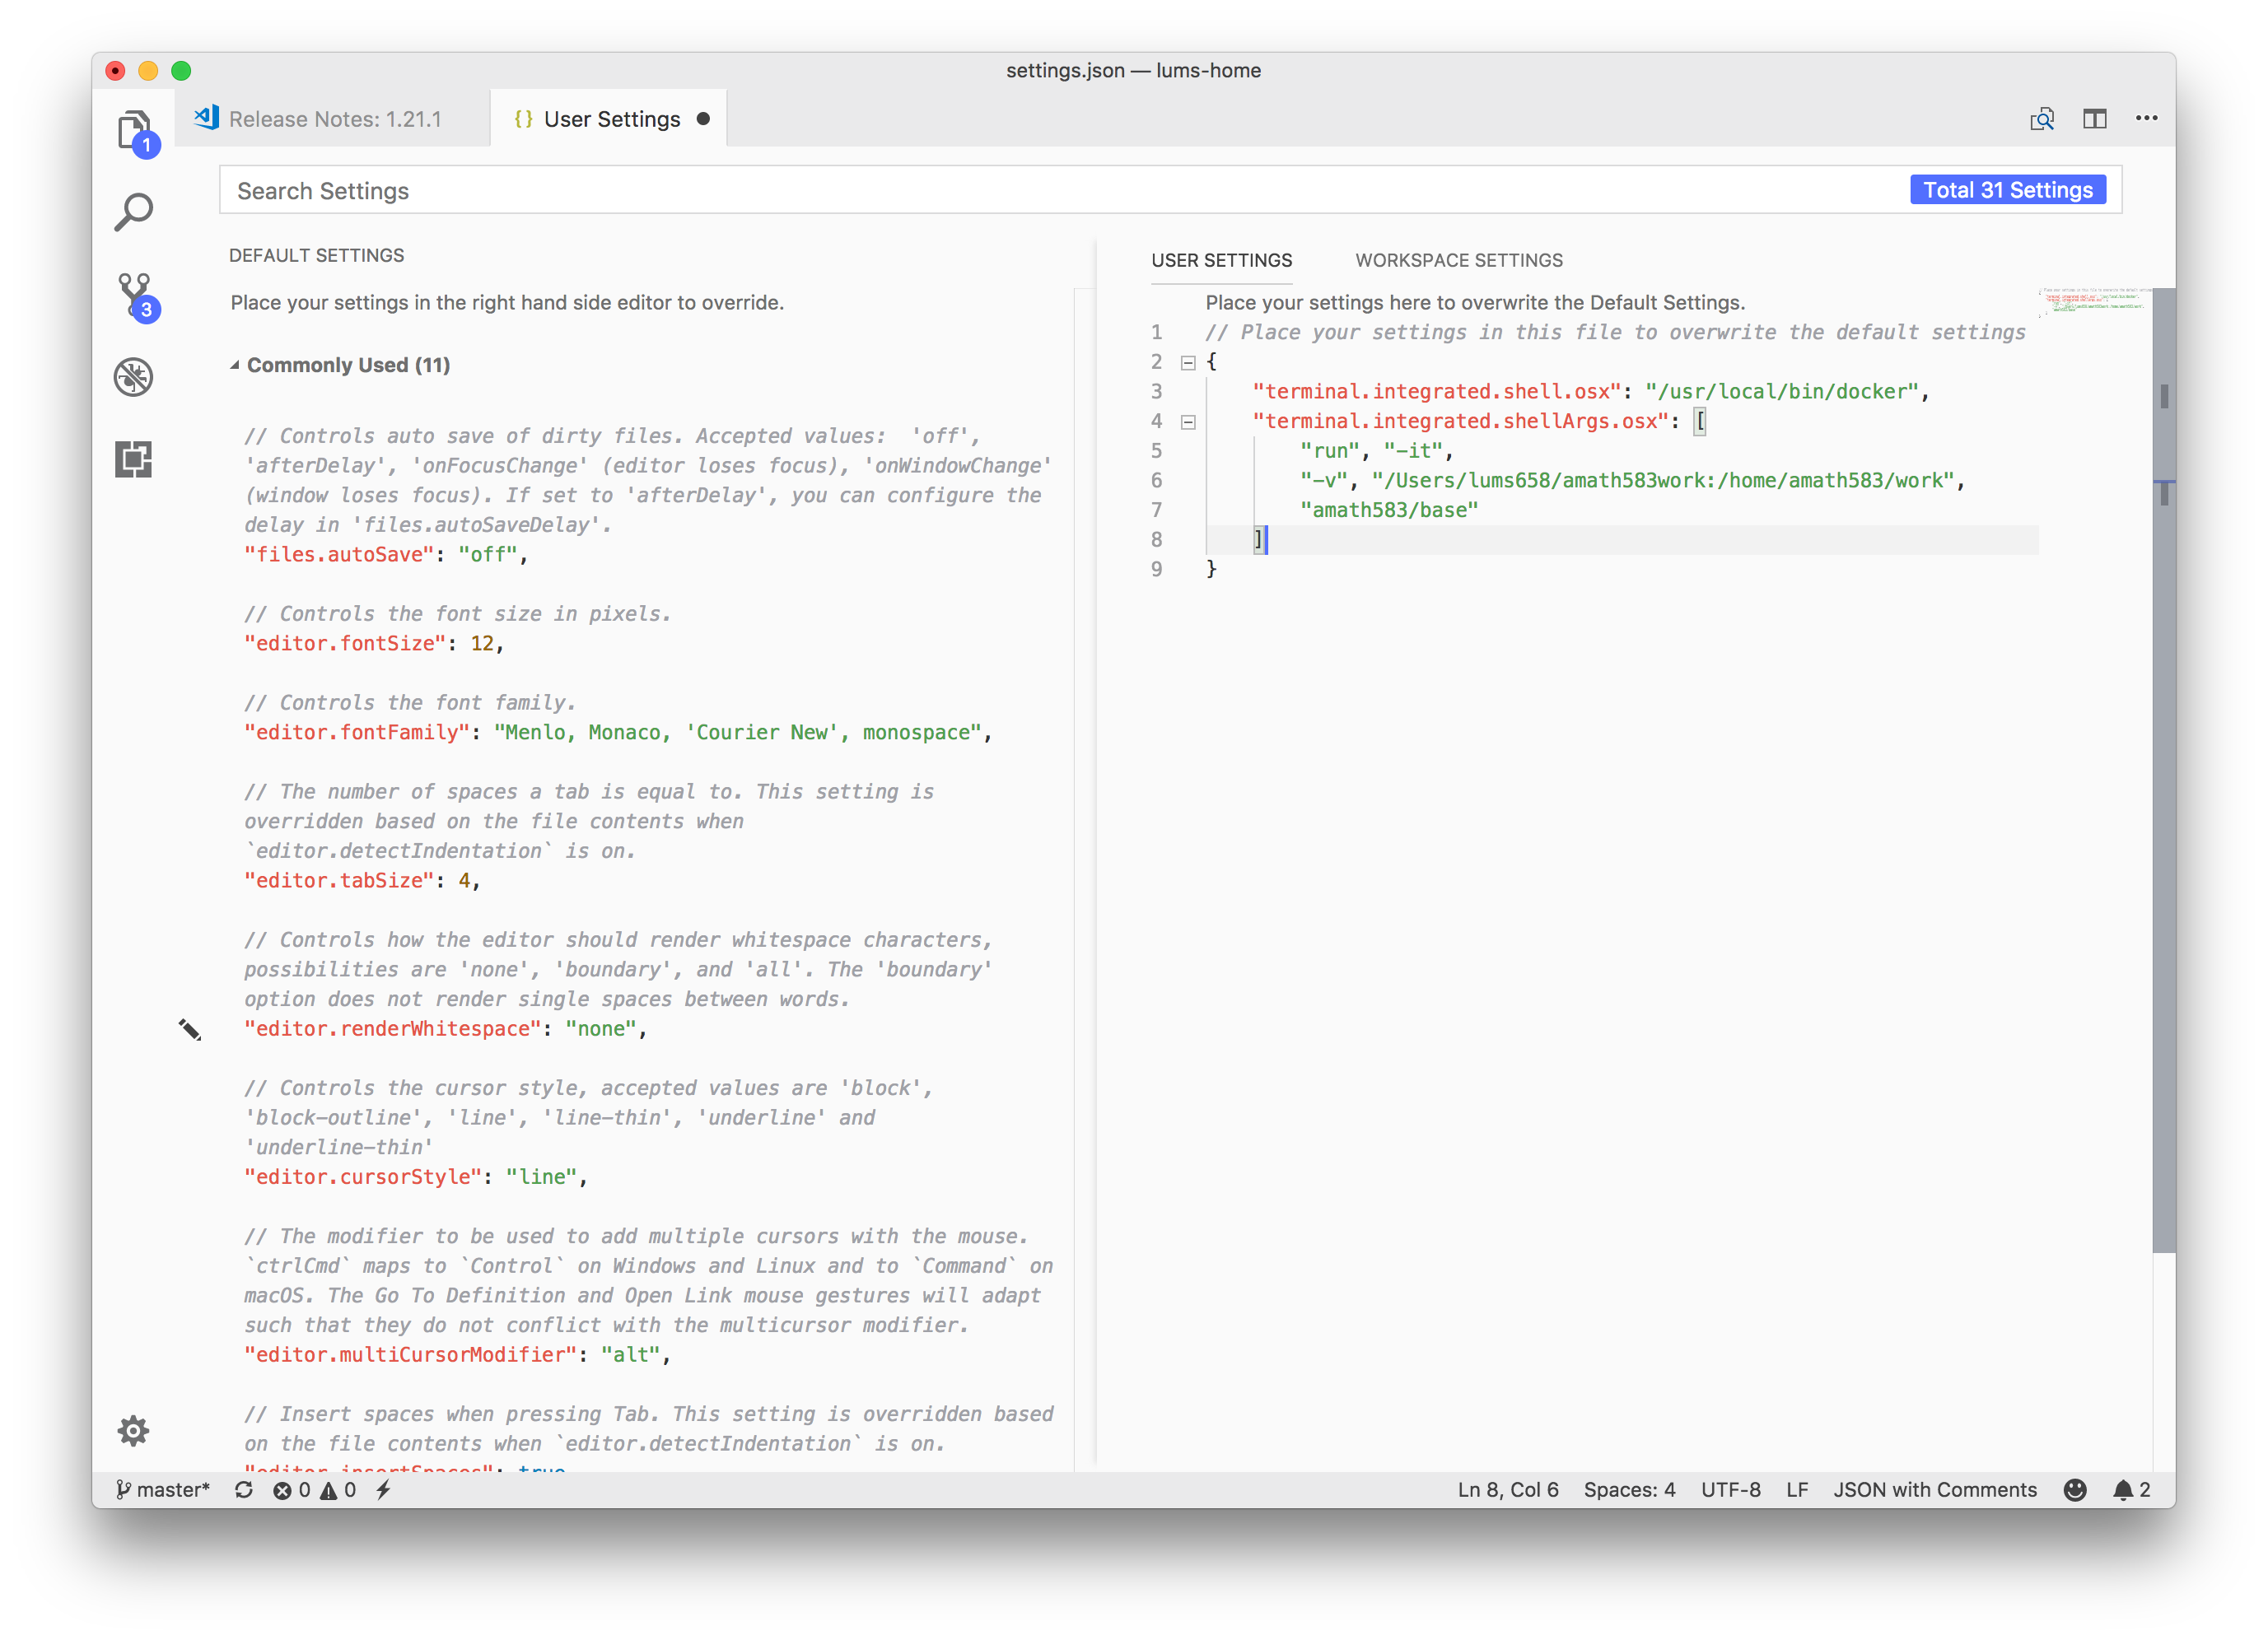
If you would like to cut and paste – use the below:
"terminal.integrated.shell.osx": "/usr/local/bin/docker",
"terminal.integrated.shellArgs.osx": [
   "run", "-it",
   "-v", "/Users/<yourid>/amath583work:/home/amath583/work",
   "amath583/base"
]
Replace \(\langle\) yourid \(\rangle\) with your user id on your computer – /Users/<yourid>/amath583work should be the path to where you do your work on your computer – and where you want docker and your host OS to link.
Finally, start the integrated terminal either through the menu (View \(\rightarrow\) Integrated Terminal) or with the keyboard shortcut ^~ (control-tilde).
Windows Instructions
The instructions for Windows are basically the same as above, but you should use the following settings instead:
"terminal.integrated.shell.windows": "docker.exe",
   "terminal.integrated.shellArgs.windows": [
     "run", "-it",
     "-v", "C:\Users\<yourid>\amath583work:/home/amath583/work",
     "amath583/base"
   ]
Replace \(\langle\) yourid \(\rangle\) with your user id on your computer – C:Users<yourid>amath583work should be the path to where you do your work for the course. Finally, start the integrated terminal either through the menu (View\(\rightarrow\)Integrated Terminal) or with the keyboard shortcut ^` (control-backtick).